
Urban Archaeology by Rachel's Reflection
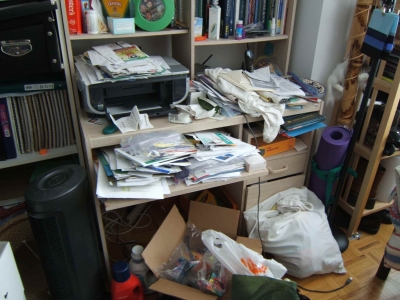
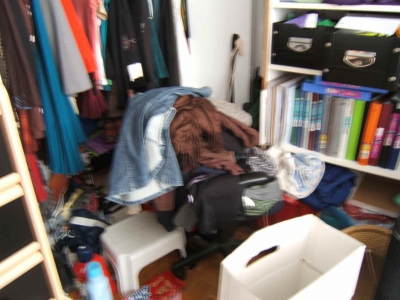
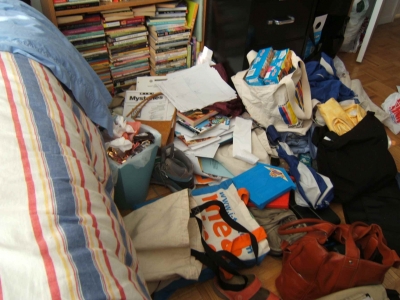
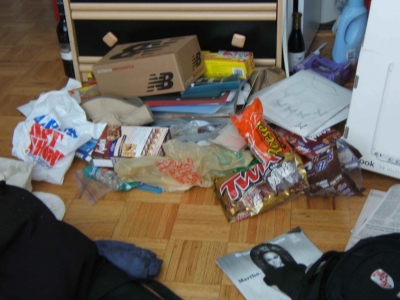
June 23rd, 2008 8:40 PMFor this task, I chose an urban locale that, while small, has been in desperate need of a large-scale clean-up and redevelopment project. This area has recently become dangerous, as the terrain is constantly shifting, and avalanches are not uncommon.
Yes, that's right. I am talking about my bedroom.
I had been planning this project for a while, but even excavating a small portion of my room is time-consuming. While planning this praxis, I happened upon another task that would help me prepare, and so I began this task already in possession of a topographical map of my keyboard shelf. (Check out Topography for photos; I am having issues getting the link to work.)
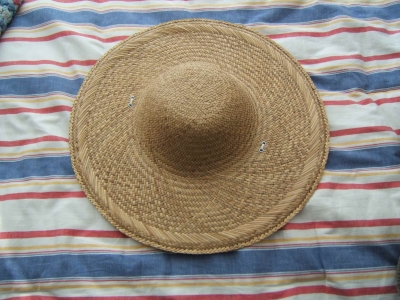
The first step, of course, was to gather the tools that I would need. First and foremost, I needed a hat. I began by considering my straw hat, which would keep the sun out of my eyes while it worked, but in urban settings, square feet are precious, and so the space I would be working in was too small for a hat of that size.

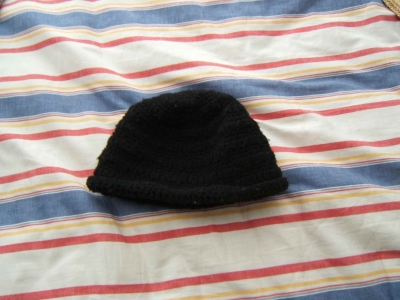
The second hat I tried was my winter hat, but it did not fit over my ponytail, and besides, it is summer outside.

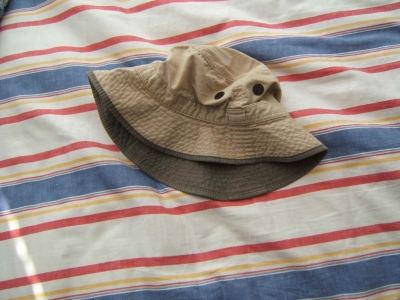
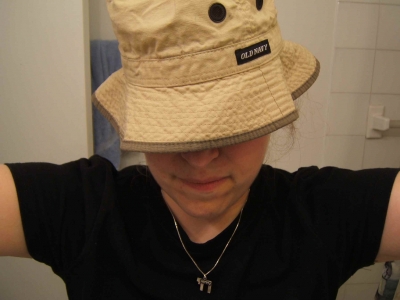
At last, I found a hat that would work.

Next, I gathered my tools. Urban tools for an urban site: a spoon and food tongs for digging and for moving of objects, a toaster rack for sifting through the waste for further artifacts, a paintbrush for dusting artifacts, and a pad and paper to record what I found.

Then, I had to choose a site. As all archaeologists know, before beginning to dig in earnest, one must first dig a test pit. Since I already had a topographical map of a portion of my desk, (see my "topography" praxis for more on that) that seemed like the best place to begin. Of course, as noted in my other praxis, the topography of my desk has a tendency to shift rather frequently, so I was not certain that the map would still be useful.
My desk:

Further photos of the overall site can be found in the proof.
I began with a test pit, and met with immediate success. Here is a photo of my first artifact:

The extensive process by which I found this, and other artifacts, can be found in the proof below. If you are pressed for time, I will leave you with the images of my most interesting find:


As I worked, I determined that some of my tools were not so useful.


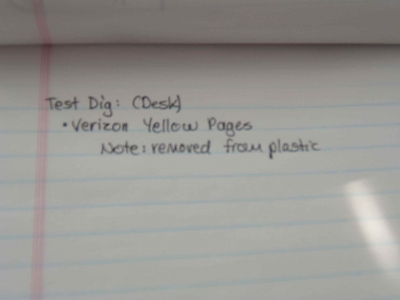
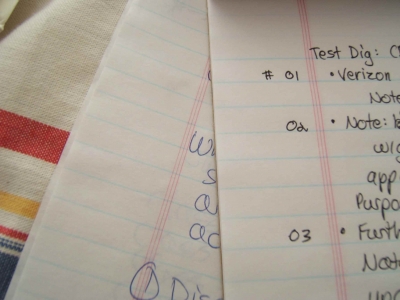
I also kept a record of all of the artifacts that I found.

Eventually, it got too dark to work, and so I looked at the progress I had made and decided that it was good enough for the first day's dig.

All that remained to do for the day was to file the artifacts...

... and cordon off the area:


And then, it was of to bed, exahusted from an afternoon's hard work, but satisfied with the results of my first day of excavation.

The necessary tools
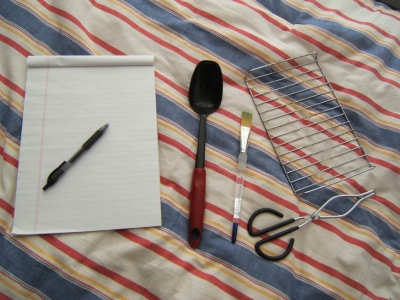
Scoop, tongs, paintbrush for dusting, toaster tray for sifting, and a pad and paper for recording. Other tools will join these later.
Lifting out an artifact
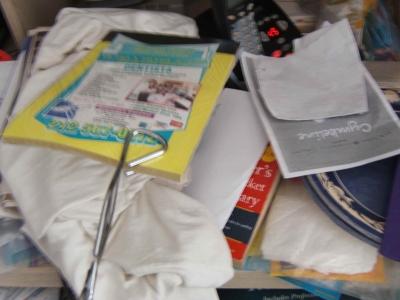
And here it is already - my very first artifact. Success! But what could it be?
Artifact #01 - a close-up
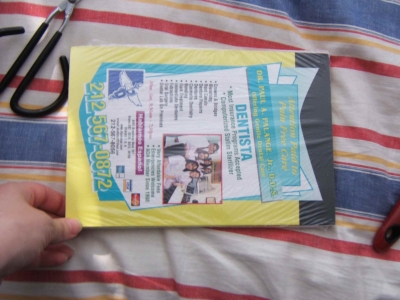
I could not examine the interior of the artifact, because it was enclosed in some sort of protective casing.
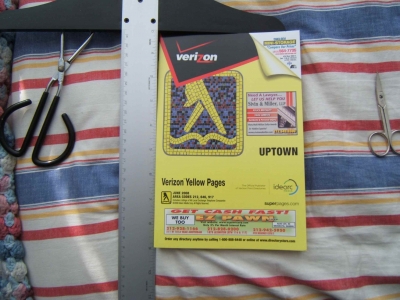
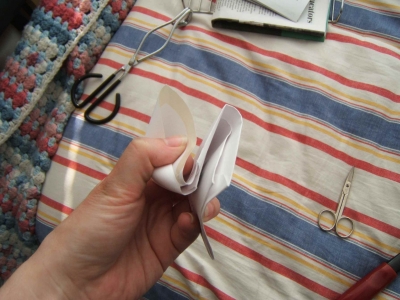
Removing the casing
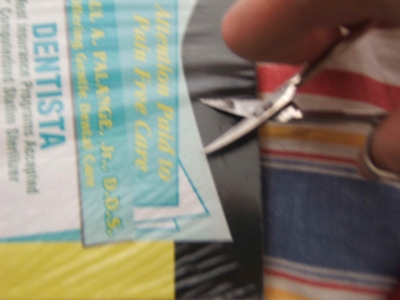
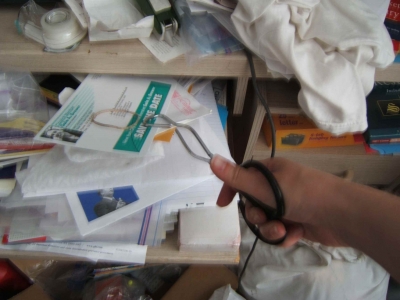
I used special scissors to remove the outer casing, so as to damage the artifact as little as possible.
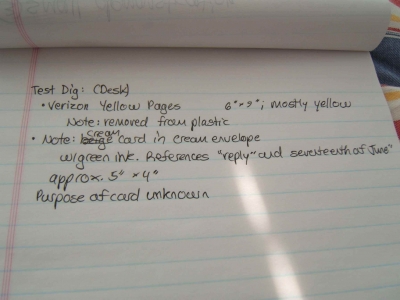
Yellow Pages
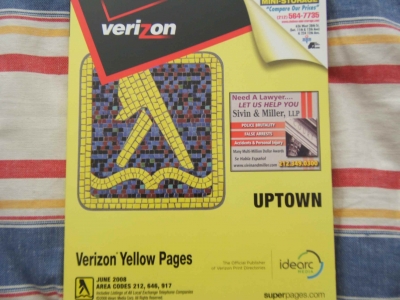
It seems the artifact has some words on it. "Verizon Yellow Pages"? What could that mean?
Inside the Yellow Pages
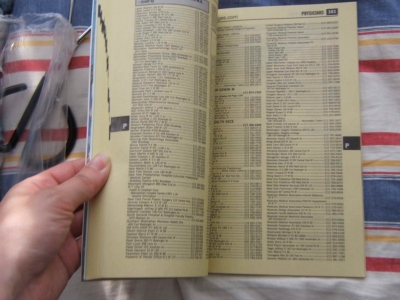
So I opened up the artifact, and discovered that most of the pages were, in fact, yellow. It seemed to be a list of words and numbers. I could make little sense of it.
Wait - yellow pages?
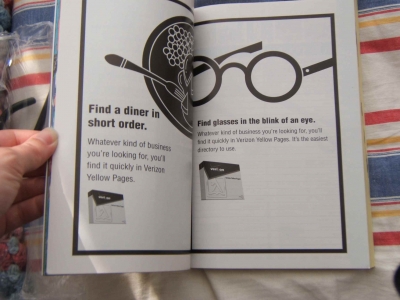
I was surprised to find that some of the pages were not, in fact, yellow, and decided to make a mental note to investigate further at a later time.
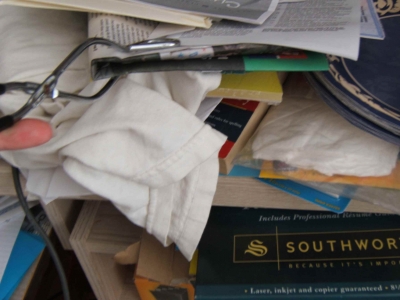
Sifting through the junk
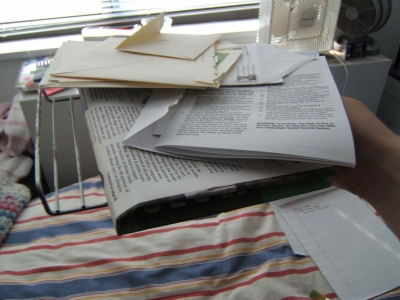
I then turned to the waste pile, that which had been covering the test pit. Like a good archaeologist, I tried my best to sift through it, but found that the toaster tray was not up to the task, as nothing was falling through the slats.
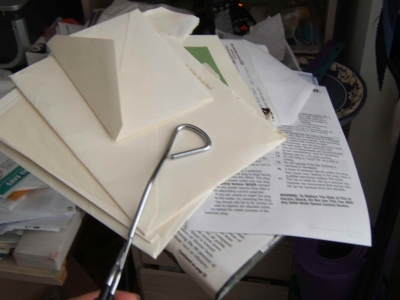
Artifact #02
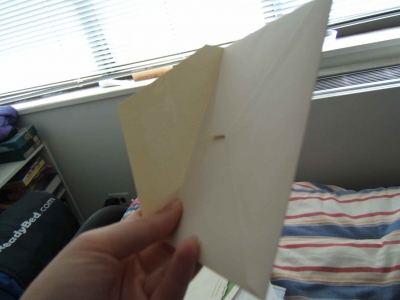
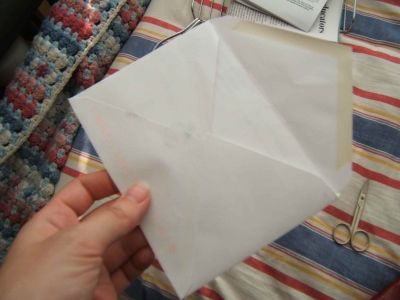
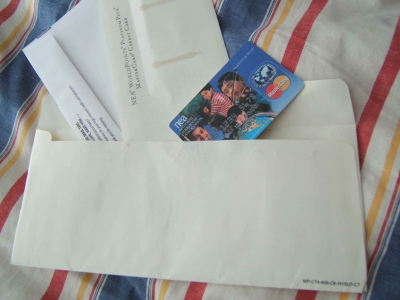
So I had to sift through it by hand instead. And here, I found my second artifact: an envelope. Inside, there was a card
Brush dusting
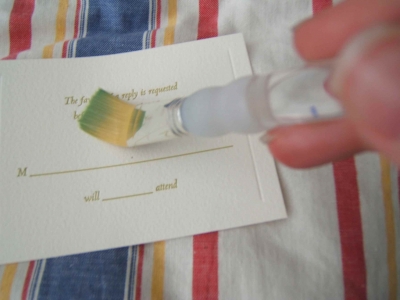
I used my paintbrush to clean it off, then realized there was no need, as this artifact - and the site in general - did not have enough dust to obscure the text.
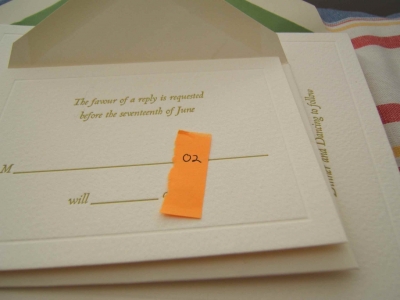
The Card
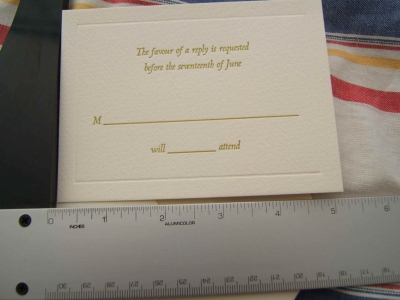
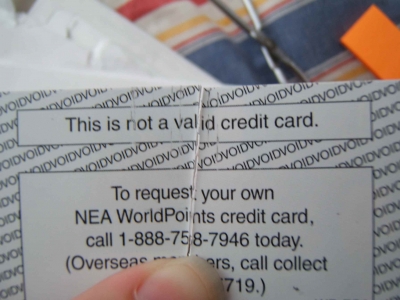
Once again, I took a measurement. I also checked out the text, and noticed something about a reply, and the seventeenth of June. I could make neither heads or tails of it.
Further evidence: Artifact #02 on top of Artifact #03
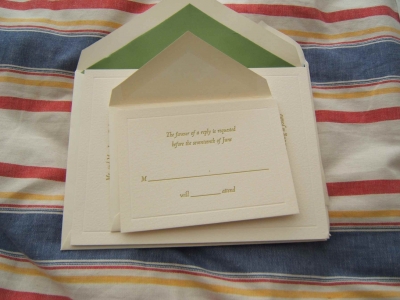
Then, in the very same pile, I found more artifacts printed with the same ink on the same paper. I guessed that perhaps they were tied to the same source.
And yet another date
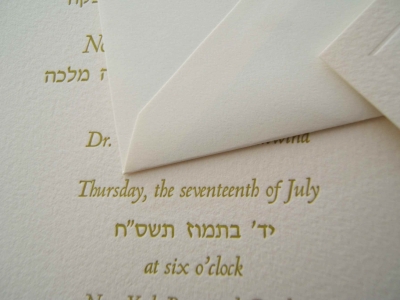
Another card had yet another date on it, and a time. Perhaps it was for some sort of rendezvous. It also had an inscription in another language, which I determined to be Hebrew.
Artifact #04
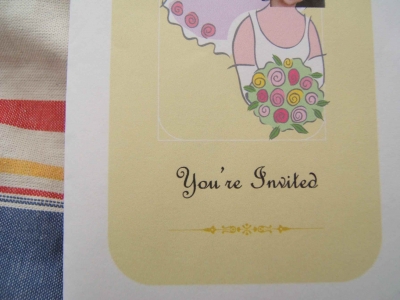
This one seems to be an invitation. It has a picture of a bride on it. Perhaps it is for a wedding?
Artifact #03: interior
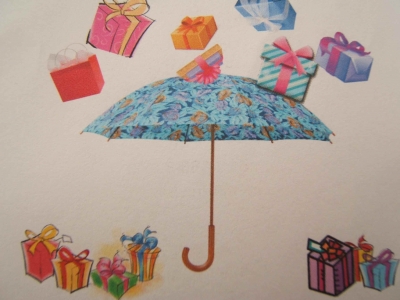
But then I found this artwork printed on the inside. An umbrella with gifts falling on it? What could that possibly mean?
Labeling the artifacts
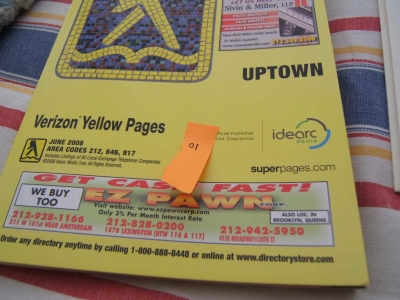
I also began to stick orange notes with numbers on them onto each artifact to keep track of which was which. Eventually, however, I got lazy and stopped doing this. I am not a model archaeologist, I guess.
And now the real dig begins
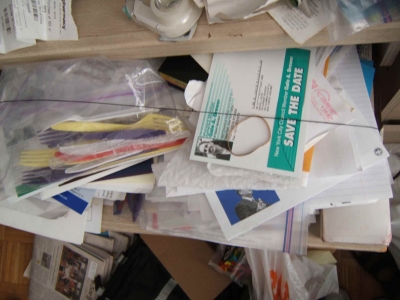
The test pit showed great promise, so it was time to grid off the site to do further digging. I began with a line of string at the 6 inch mark. Alas, most of the debris underneath the line was larger than six inches, and I quickly realized that this was not practical.
Oops.
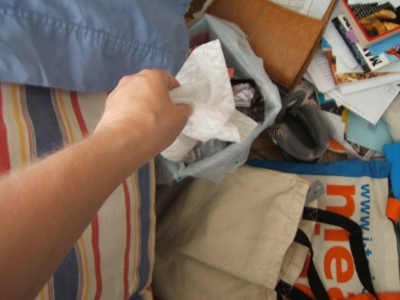
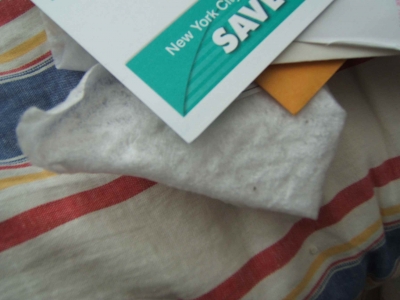
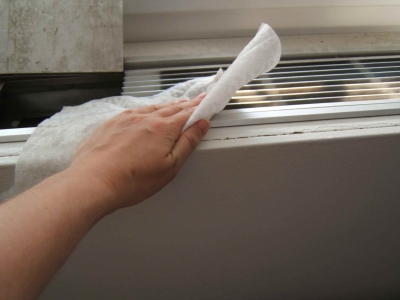
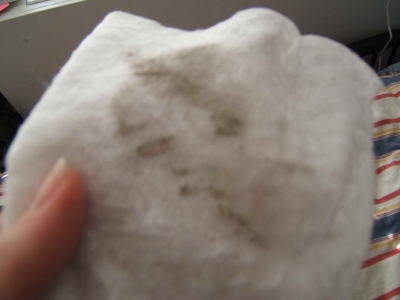
Unfortunately, this experiment contaminated my artifact, and so I nearly through it away. Then, I realized that I might be able to use it to clean other artifacts.
This paintbrush is now useless...
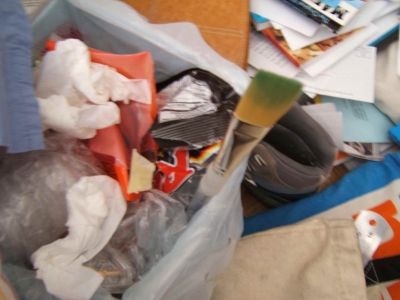
... for the purposes of this task, but I later fished it out of the trash because it is still useful for the brushing of paint, as per its intended purpose.
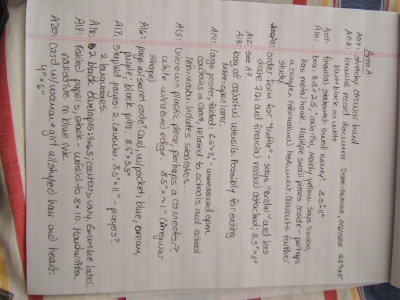
The list for Area A
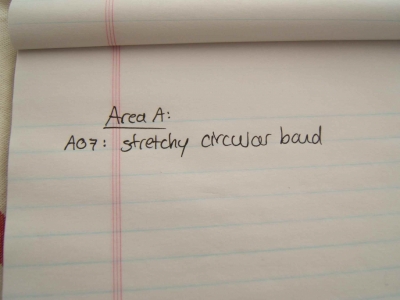
And here, I began to catalogue the findings from the keyboard shelf, the first area of my dig.
Examining the new artifact
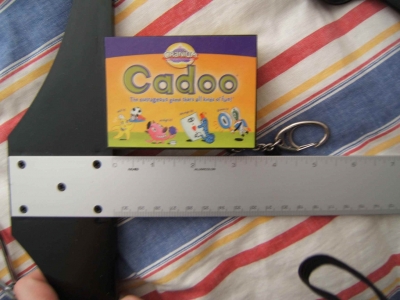
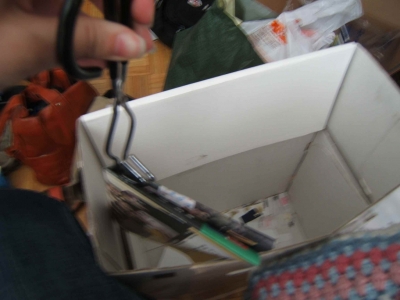
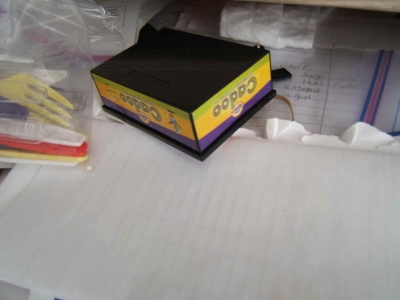
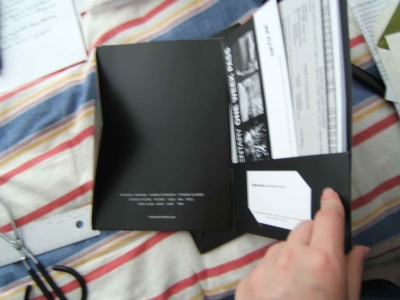
It was a small box, measuring less than four inches across, with a metal hook hanging off the end. After documenting the exterior, I decided to risk prying it open.
Wow!
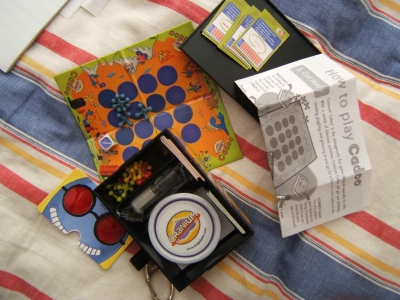
What is all this stuff? It looks like a primitive lab of some sort. Or maybe it is a complex game...
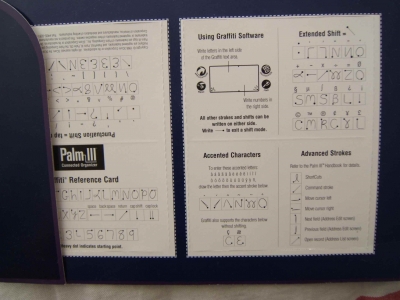
Artifact #A15
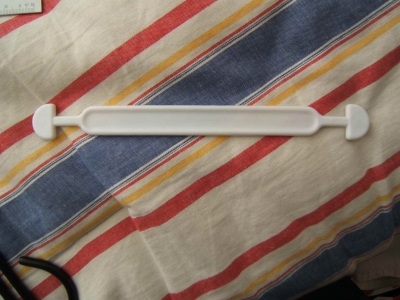
I had no idea what to make of this. It looks like it is designed to connect two other objects to each other.
Artifact #A17

This one looks like a ceremony of some sort. Again, it contains Hebrew. That must be an important language at this location.
Filing the artifacts
It began to get dark out, which meant it was time to pack up. I did the best I could with filing each artifact in an appropriate location.
A work in progress
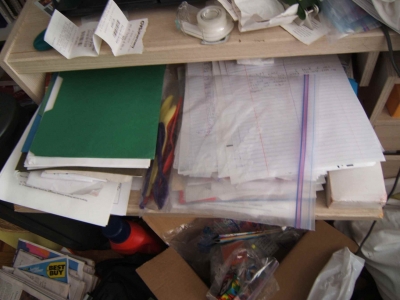
Though I was unable to finish my excavation in one day, I was pleased to note that I had dug down to a lower level. The progress was clearly visible.
The fence
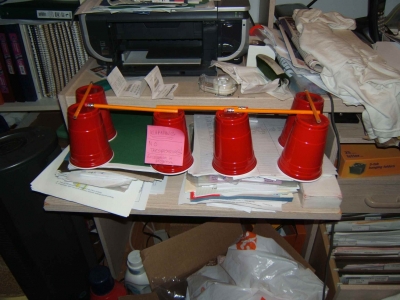
Now, all that remained was to fence off the excavation site to prevent would-be tresspassers from injuring themselves or damaging the site and its remaining artifacts.
The sign
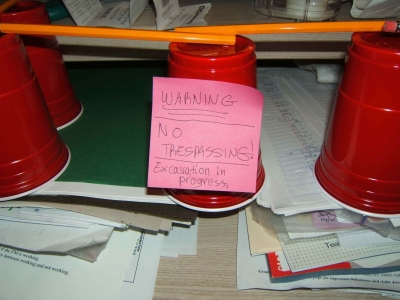
I even added a bright pink warning sign in case the fence did not adequately send the message. And, with that, my work was done until another day...
11 vote(s)

Tøm
5
JTony Loves Brains
5
JJason Recognition
5
Julian Muffinbot
5
Rainy
5
Evil Sugar
5
Sparrows Fall
5
teh Lolbrarian
5
Gremlin
5
Augustus deCorbeau
5
Ethor the Hunter
Terms
(none yet)7 comment(s)
Very thorough tasking! Take this tasking out into the world! I look forward to seeing what you do next.
I'm so glad my mentioning sf0 inspired you to join. Your tasks are always most excellent!
Thank you.
Yours are quite impressive as well.
And now, if only I could be a teensy bit less obsessed with it... :)
Ha! Awesome! I totally had the same idea! You did a much better job with your methods and documentation than I had planned for mine. I bow to your skills :)
It's always fun to find someone who is on the same wavelength. You are welcome to have fun comparing your findings to mine if that helps at all. :)




Catchy!
Excellent tasking, as is becoming the norm from you!