Just add water by Lincøln
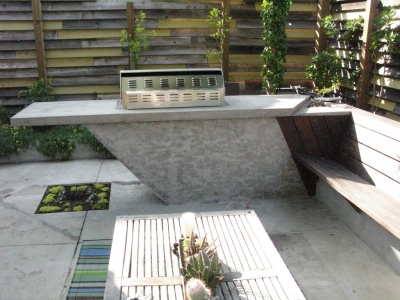
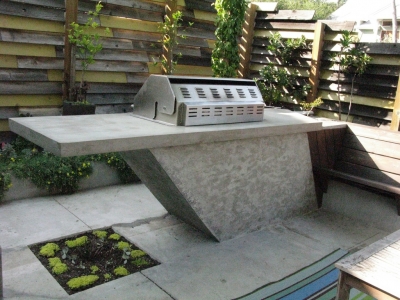
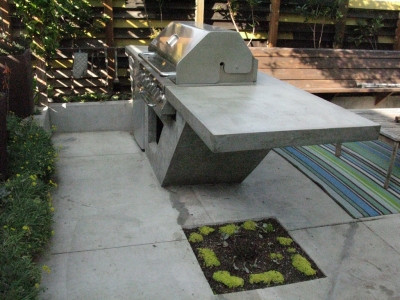
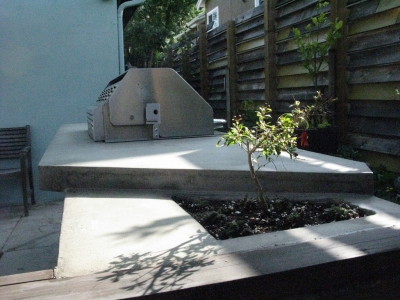
February 26th, 2012 10:36 AM / Location: 34.124332,-118.1797I built this BBQ island in my brother's back yard.
I designed, and built the whole thing.
The template
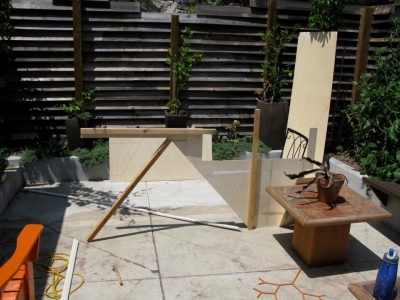
I first made a wooden cutout to show how and where the thing was going to be. I also drew its footprint on the ground. No surprises.
The ass
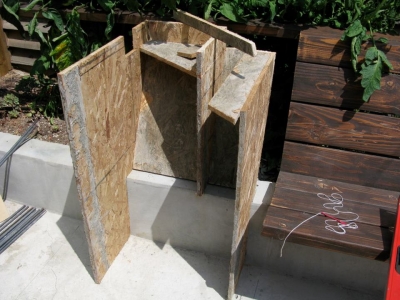
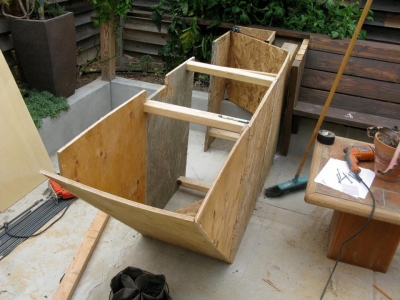
Building the inner form for the ass of the unit. This was complex because it had to accomplish many different things, it had a planter built into it, which needed space for soil, as well as drainage, it was where all of the electricity would be coming in to the unit, and it was the main tension support for the rest of the unit, most of which would be overhung.
The ass exposed
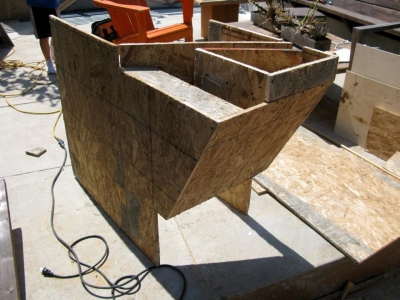
Here I am pulling the ass piece out trying to figure out how to make the negative cuts that would eventually be pushing against concrete in a positive space. Not easy on m'brain.
The ass. Ready.
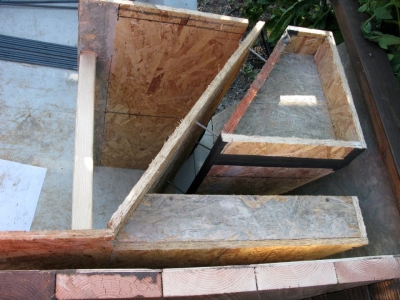
The ass all figured out and ready. I needed to put four screws to hold the planter portion in place because it was surrounded on all sides by concrete.
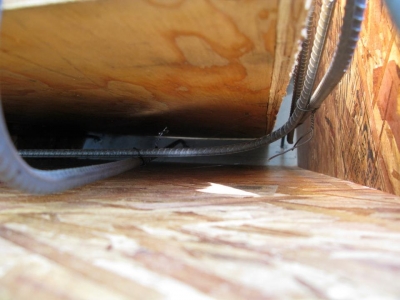
The cutouts and electrical
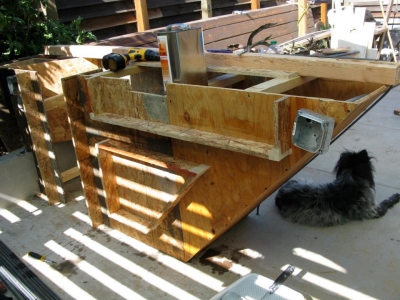
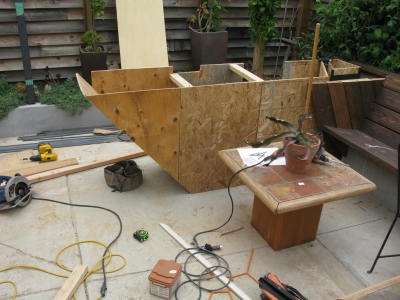
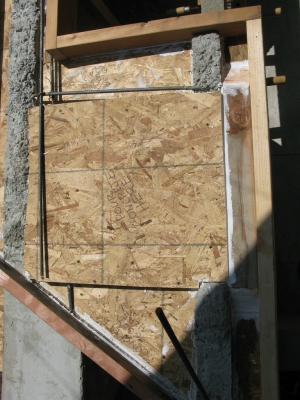
Installing the cutouts on the inner form so the outer form can squeeze up against it.
Other side
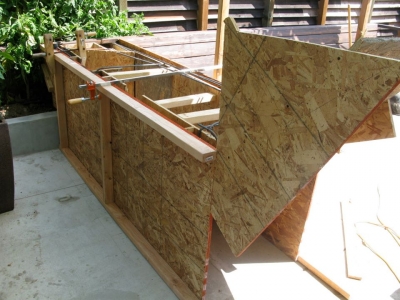
The other side of the outer form. That giant piece of wood sticking up that makes it look like a big animal or something was a concrete splash guard for when we start dumping concrete in.
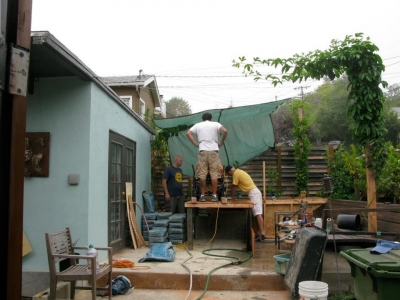
Ready!
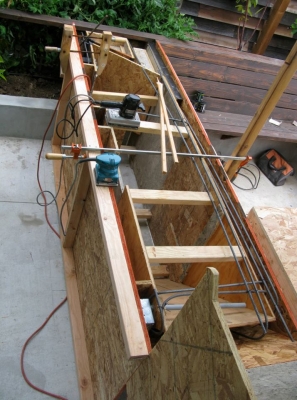
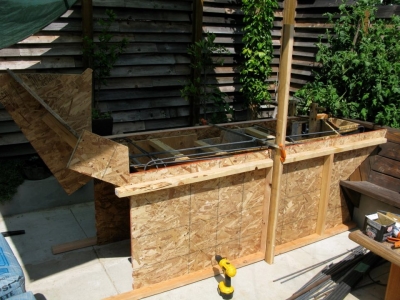
we're all ready for concrete now. Those sanders are there to vibrate the concrete forms to get rid of air bubbles and to help the concrete settle down into the bottom of the forms.
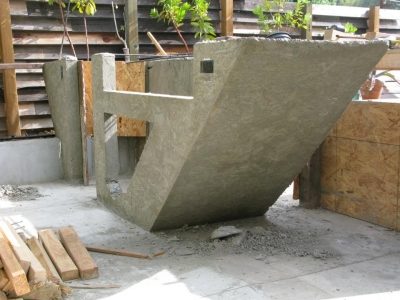
All poured!
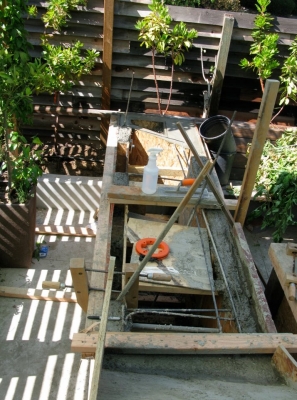
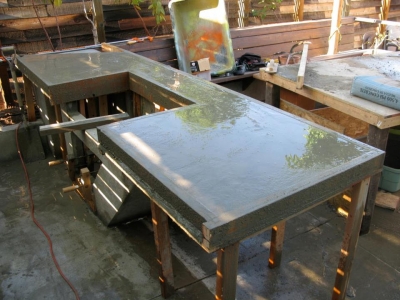
The base portion is all poured in one solid block of very custom concrete. Now she just has to dry.
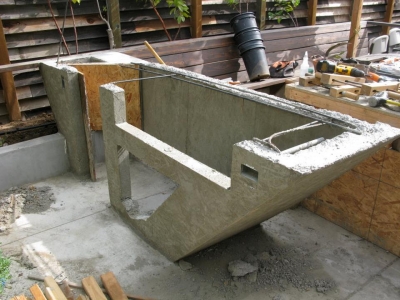
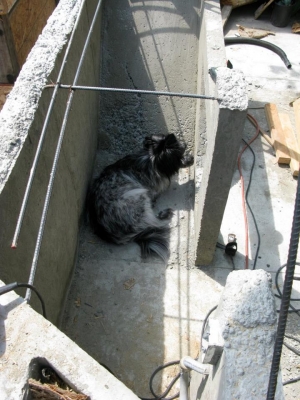
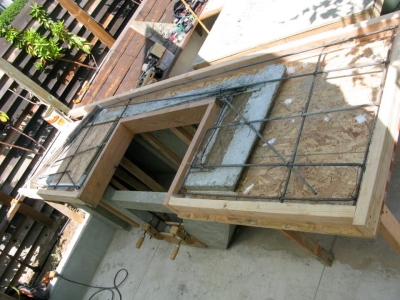
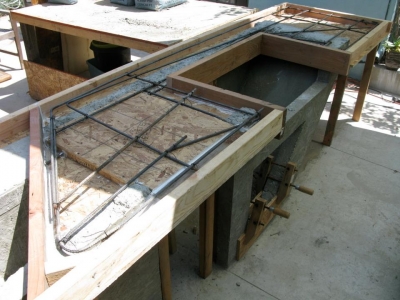
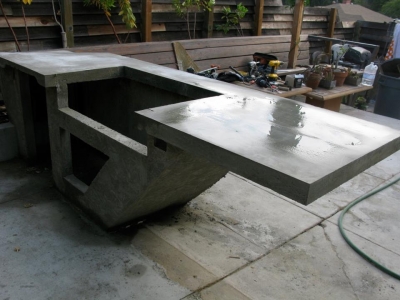
Arial view
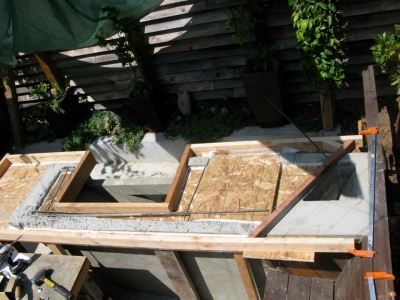
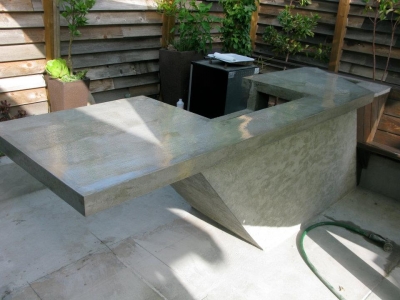
I left the bottom form to poke up into the top form so the two pieces of concrete would bond with one another. Sure the rebar is going to do that, but this way hides the tops of the bottom. There's one slightly raised section on the right where the refrigerator will go.
A little patch form
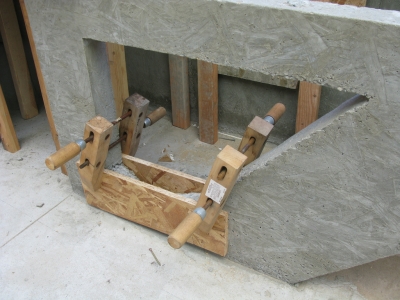
This very bottom part of the form didn't get completely filled. So we make an extra little form and we'll fix it when we pour the top.
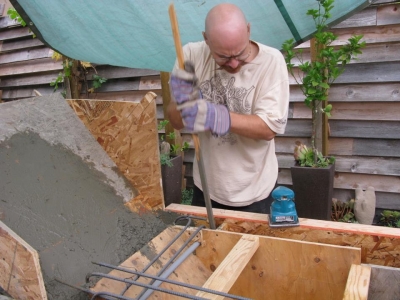
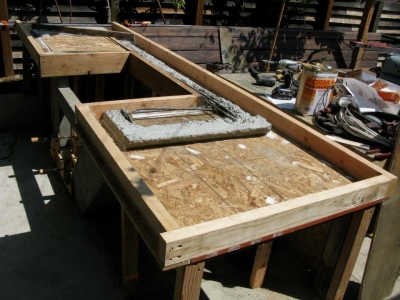
Pouring the top
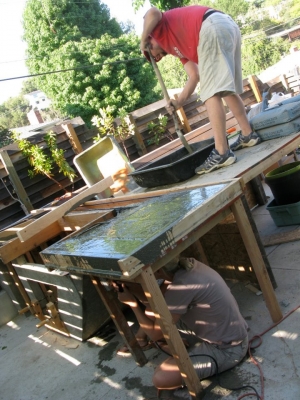
That's my brother pouring concrete, my sister vibrating underneath with an orbital sander and I'm taking a little break from smoothing the top off.
Tamping down and imperfections.
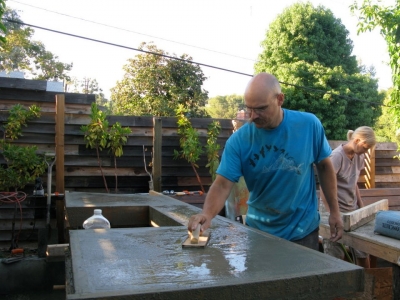
Wood trowel for the rough finishing. This is to get all the aggregate down, and the water to the top.
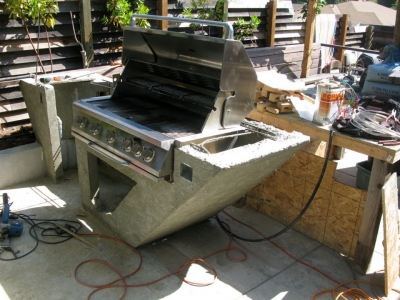
Flush
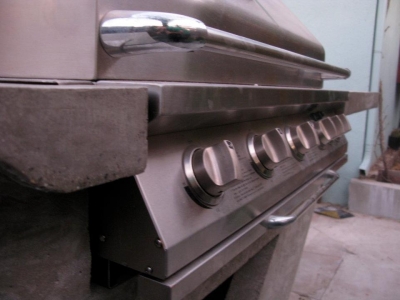
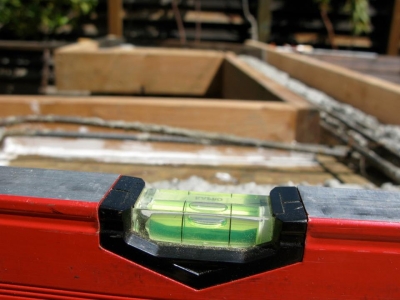
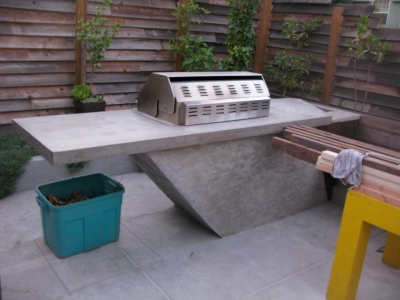
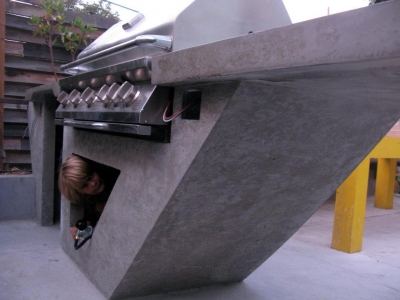
A close up detail of how exact my measurements were to get the B-B-Q to sit flush with the countertop.
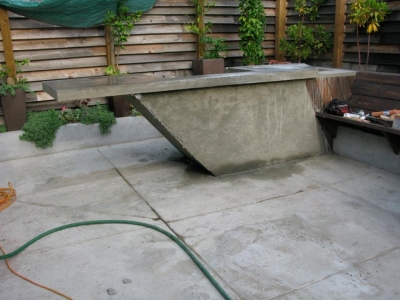
Underhang garden cut out
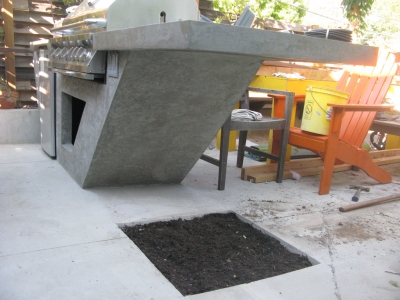
And then a few finishing touches, like the little garden under the overhang.
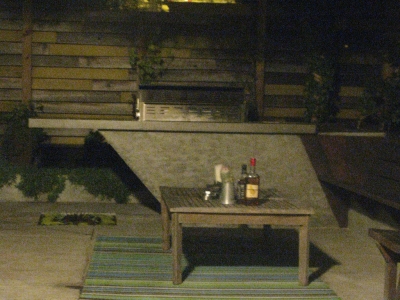
Using it that first night
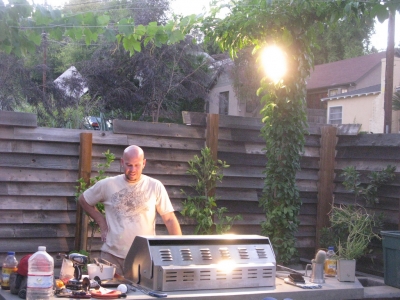
The night we got everything finished (we had just installed those cooking spot lights up above there), we made burgers. You'll notice a bunch of tools still out on the counter with the cooking utensils.
18 vote(s)

Sean Mahan
5
relet 裁判長
5
Sam Archer
5
Markov Walker
5
Samantha
5
Joy
5
Kattapa
5
Kate Saturday
5
Not Here No More
4
Ty Ødin
5
Reginald Cogsworth
5
Pixie
5
Jellybean of Thark
5
Augustus deCorbeau
5
Poisøn Lake
5
Amoeba Man
5
Chase of SF0
5
zer0gee
Terms
(none yet)8 comment(s)
Thank you very much.
I put a lot of work into this.
Pretty damn awesome, and reminds me of A Town Called Panic, a movie which you will now find funny.
The little moss garden under the overhang is a really nice touch
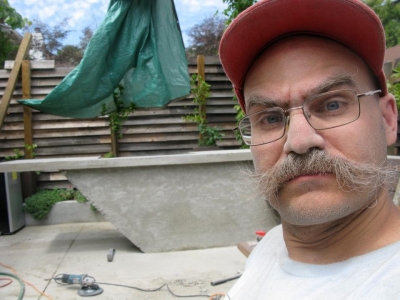
You look like your dad in the Yep picture.
Why thank you.
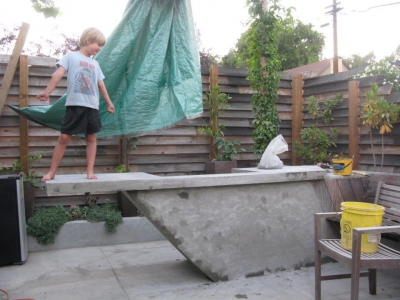
I was just standing on this B-B-Q yesterday and was thinking of this task.






very lovely, and extremely skillfully executed. i like the pomegranate tree especially.